Tomatoes are a staple in home gardens around the world, prized for their vibrant colors, rich flavors, and versatility in the kitchen. Growing your own tomatoes can be an immensely rewarding experience, offering a taste that far surpasses store-bought products. Whether you’re a seasoned gardener or a novice, my comprehensive guide will take you through the process of growing tomatoes from seed to harvest, ensuring a bountiful and delicious crop.
Understanding Tomato Varieties
Before we begin, it’s essential to choose the right tomato varieties for your garden. There are thousands of varieties out there. However, tomatoes come in two main types- determinate and indeterminate.
Determinate Tomatoes:
These are bush-type plants that grow to a certain height, set fruits, and then stop growing. They produce all their fruits in a short period. A gardener can harvest their produce earlier than the indeterminate variety. As this variety grows 2-3 feet tall, they do not need trellises or staking. They are ideal for gardeners who want to harvest a large quantity at once for canning or preserving.
Indeterminate Tomatoes:
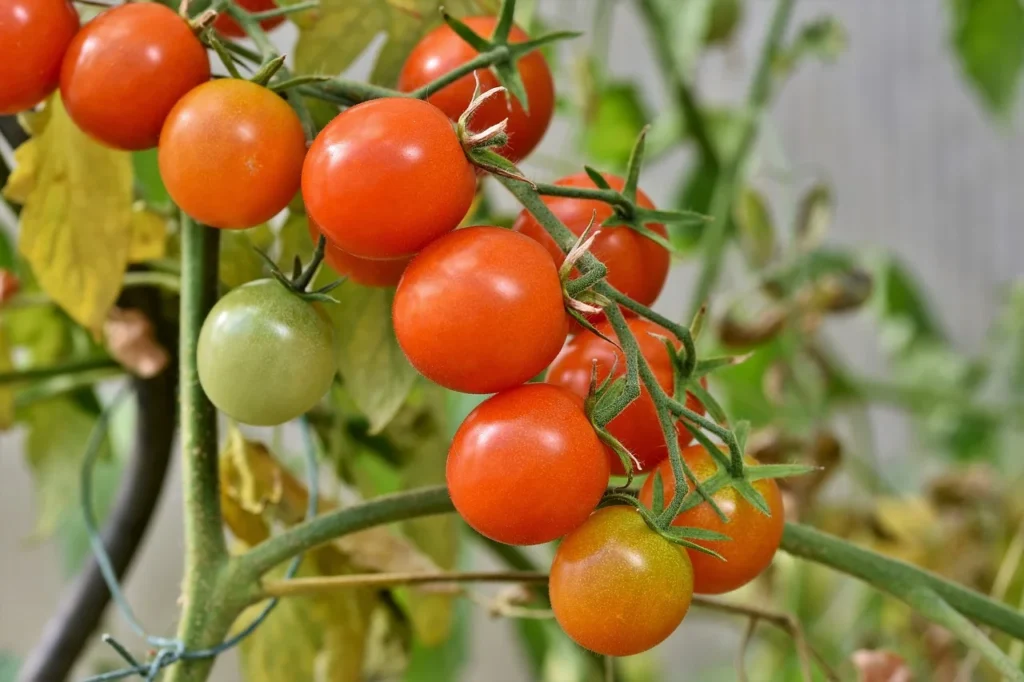
These plants continue to grow and produce fruit throughout the growing season until the first frost. They tend to be taller and require staking, making them ideal for larger gardens. As this variety offers a continuous harvest, the gardener can enjoy fresh tomatoes all summer long. Most cherry and beefsteak tomatoes are indeterminate types.
Starting tomatoes: Seeds vs seedlings
Tomatoes can be grown from either seeds or seedlings. It is totally up to your choice. However, there are some key considerations when making your decision.
Starting with Seedlings:
Someone else, ideally a nursery, will grow seedlings for you, which you can buy from them. You may consider buying seedlings if:
- You are a micro-gardener and do not want to plant many.
- You are reluctant to deal with the hassle of growing from seeds.
- You do not bother about planting a variety of tomatoes.
- It is your first year of growing tomatoes, and you do not have experience growing from seeds.
- You don’t want to invest much time and space in growing from seeds.
Starting with Seeds:
There are also some benefits of starting tomatoes from seeds at home that I am going to share with you:
- You know how your transplants are grown. Hence, you can keep your vegetables organic throughout their life and ensure chemical-free transplants.
- It gives you access to a wide range of varieties that you might not find as seedlings at your local garden centre.
- It also allows you to start your growing season a few weeks earlier. That means you have a chance for a longer harvesting time.
- Growing from seeds is also cost-effective if you grow in large quantities.
Steps to grow tomatoes from seeds:
- Seed Selection: Choose seeds from reputable suppliers. Pay attention to how long it will take from planting to harvest. Select the right type of seeds, whether you want to grow determinate or indeterminate types.
- Planting Seeds: For most regions, starting seeds indoors 6-8 weeks before the last frost date is ideal. Use seed trays or small pots with good drainage. Fill them with a sterile seed-starting mix, which is light and well-draining. It will help prevent damping-off disease. Plant seeds about 1/2 inch deep and cover lightly with soil. Water gently to avoid dislodging the seeds. Place the containers in a warm area (70-80°F) and keep the soil consistently moist. Seeds typically germinate within 5-10 days.
- Providing Light: Once the seeds germinate, they need plenty of light to grow strong and healthy. A south-facing window may suffice. If natural light is inadequate, consider using grow lights. Position the lights about 2-3 inches above the seedlings. Move them up as the plants grow.
- Transplanting Seedlings: When the seedlings develop their first true leaves (the second set of leaves), it’s time to transplant them into larger pots. Handle the seedlings gently. Hold them by the leaves rather than the stem to avoid damage.
- Hardening Off: Before transplanting your tomatoes into the garden, they need to be hardened off. This process acclimates them to outdoor conditions. Gradually expose the seedlings to the outdoors, starting with a few hours in a shaded, sheltered spot and increasing the time and sun exposure over 7-10 days.
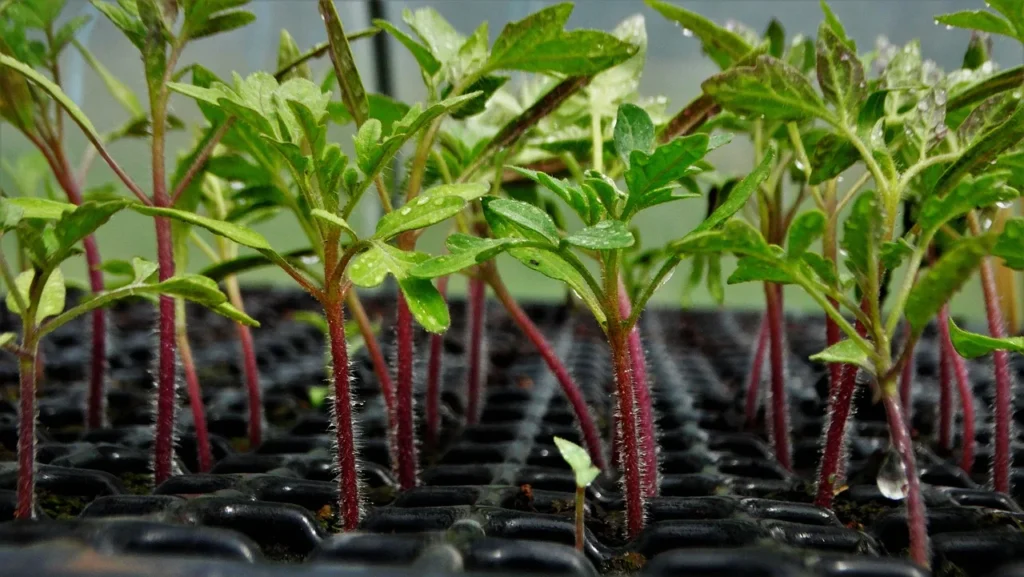
Planting Tomatoes:
Approximately two weeks after the last frost date of your region and when the temperature is optimum, it is time to set your seedlings in the garden soil. Here are some of my step-by-step tips about planting tomatoes in your garden:
- Tomatoes are sun-loving plants that require well-drained, fertile soil. Make sure the spot gets at least 6 hours of direct sun exposure. Preparing your garden bed correctly is crucial for a successful harvest. If you are a backyard gardener, I suggest you use a raised bed. There are a lot of benefits using raised beds.
- Tomatoes thrive in slightly acidic soil with a pH of 6.0 to 6.8. Before planting, test your soil and amend it if necessary. Add compost or well-rotted aged manure to improve soil structure and fertility. If your soil is too acidic, add lime. If it’s too alkaline, add compost, wood chips, leaf mould, and other organic matter.
- Tomatoes cannot stand frost. Make sure the temperature is right for planting after the last frost date in your region. The ideal daytime temperature is 70°F, and at night it is 50°F for transplanting.
- Plant the seedlings in the evening. This way, the plants have enough time to overcome stress before the afternoon heat.
- Keep 2-3 feet of space between plants. Crowded plants will not get enough sunlight, which means you won’t get an optimum harvest, and the fruits may not ripen properly.
- To set the plant in the soil, make a deep hole and place the root ball deep enough so that the stem is fully buried up to the true leaves. Unlike other plants, tomatoes thrive when planted this way. Roots develop all along the plant’s stem, which makes it grow robust. Put a handful of bone meal (a phosphorus source) beneath the hole. Abstain from applying high-nitrogen-based fertilizer, as it can cause quick growth but delayed fruiting and flowering.
- Water the roots generously so that the plants can overcome stress.
- Apply stakes or cages to your plants. Support them to prevent them from becoming bushy on the ground. Support ensures air circulation, which is essential for disease-free plants.
Caring for Tomato Plants:
Proper care throughout the growing season will ensure your tomato plants stay healthy and productive. Optimum care will ensure a robust harvest.
Watering Tomato Plants:
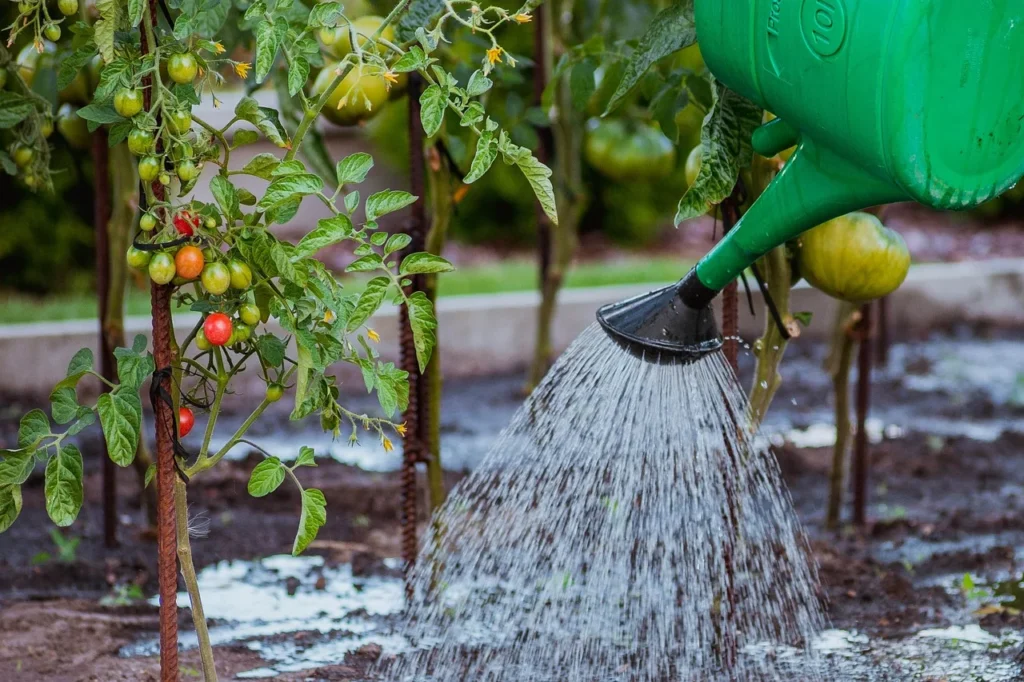
- Tomatoes need consistent moisture, especially during flowering and fruiting periods. Water deeply and regularly aiming for about 1-2 inches of water per week. (I think watering twice a week in normal weather would be good. But, if the temperature rises higher, you need to increase the frequency depending upon the condition of the soil.), Mulching can help maintain soil moisture and reduce the need for frequent watering.
- Do not water overhead. Avoid splashing water on the foliage, as it may invite disease. Instead, water at the base of the plants. I think drip irrigation would be very helpful to serve this purpose.
- Do not let the soil dry out completely. This will affect the calcium intake of the plant, which can later cause blossom-end rot to the fruits.
- Watering in the morning can help the plants stay steady throughout the day.
- Mulching is essential for plants. It helps retain moisture, suppress weeds, and regulate soil temperature. I suggest applying 2-4 inches of mulch after 4-5 weeks of planting. Use organic mulch like wood chips, grass clippings, or even compost. It will prevent microbes from the soil from splashing up onto the foliage during rain or watering.
Fertilizing Tomato Plants:
In this article, I suggested soil amendment and adding compost before planting the seedlings, followed by mulching after 4-5 weeks. These steps are good enough for the robust growth of plants and optimum harvest. However, tomatoes are heavy feeders, so fertilizing them regularly will support their growth and fruit production. You may fertilize them with organic liquid fertilizer every two weeks, especially during the flowering and fruiting periods.
Pruning:
Pruning helps focus the plant’s energy on fruit production. It also improves air circulation and reduces disease risk. Remove the small shoots (suckers) that grow between the main stem and the branches. This will allow air and sunlight to penetrate the middle of the plant.
For indeterminate varieties, you may want to remove all suckers except for the ones below the first flower cluster. Determinate varieties need less pruning, as they produce fruit on their side shoots. As the plants grow, remove the lower leaves up to 12 inches that are in contact with the soil, which helps prevent soil-borne diseases.
Pests and Diseases:
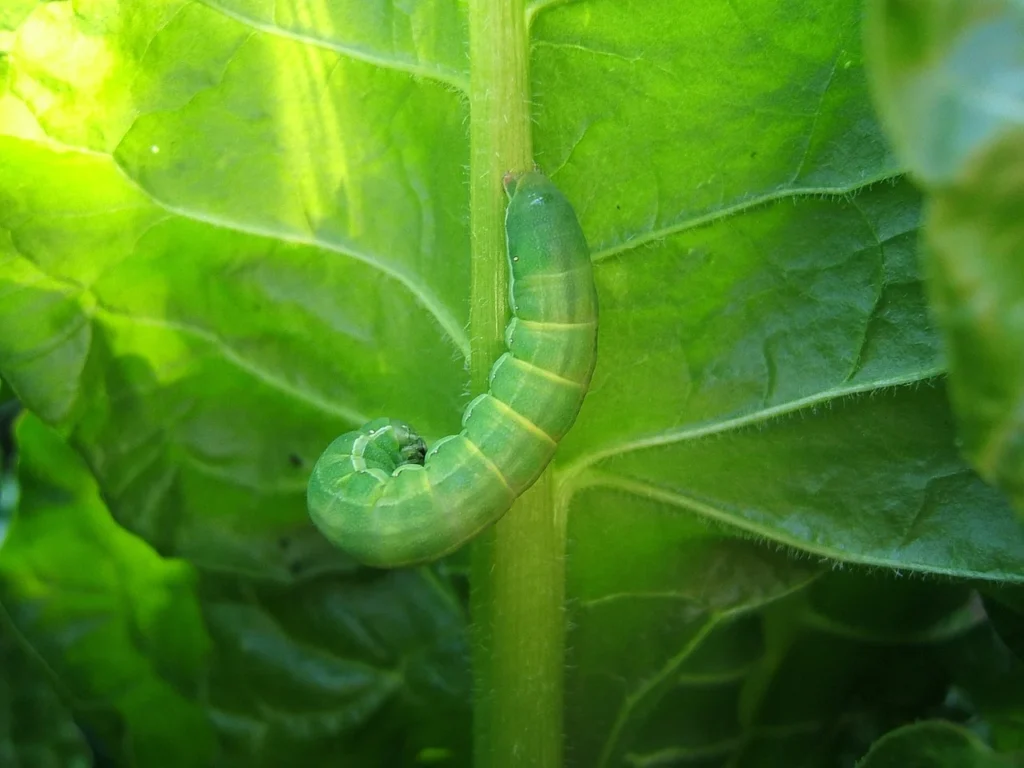
Tomatoes are susceptible to various pests and diseases. Regular monitoring and early intervention are key to keeping your plants healthy. Watch out for aphids, tomato hornworms, and whiteflies. I use insecticidal soap and neem oil to manage these common pests. Introducing beneficial insects like ladybugs can help manage these pests too.
Fungal diseases like blight, septoria leaf spot, and powdery mildew can affect tomatoes. To prevent these, water at the base, avoid overcrowding, and rotate crops annually. Fungicides may be necessary if an outbreak occurs.
Harvesting Tomatoes:
Harvesting tomatoes at the right time and storing them properly will ensure you enjoy the best flavor and extend their shelf life. Here’s how to tell when they’re perfect for harvesting:
- Tomatoes are typically ready to harvest 60-85 days after planting, depending on the variety.
- For the best flavor, allow tomatoes to ripen fully on the vine. However, if you need to pick them up early due to weather or pests, they can ripen indoors too.
- Check the fruit’s color. The fruit should be fully colored according to its variety (red, yellow, orange, etc.).
- Harvesting technique: Use scissors or pruning shears to cut the fruits from the vine, leaving a small portion of the stem attached. This helps prevent damage to the plant and fruit.
Storing Tomatoes:
In my family, we preserve tomatoes by freezing them. However, tomatoes can be stored in the following ways:
- Room Temperature: Store ripe tomatoes at room temperature, out of direct sunlight, for up to a week. Refrigeration for too long can reduce their flavor and texture.
- Freezing: For longer storage, tomatoes can be frozen whole, sliced, or pureed. Blanching before freezing helps preserve flavor.
- Canning and Preserving: Tomatoes are excellent candidates for canning, making sauces, salsas, and other preserves that can be enjoyed year-round.
Troubleshooting Common Issues:
Even the most experienced gardeners face challenges when growing tomatoes. Here are some common problems and how to address them:
- Blossom-end rot: Blossom-end rot is a common issue characterized by dark, sunken spots on the fruit’s blossom end. It is caused by calcium deficiency, often due to inconsistent watering.
- Solution: You can resolve this issue by maintaining consistent soil moisture. Water sufficiently and do not let the soil dry. Add calcium to the soil if needed.
- Cracking: Cracking occurs when tomatoes take up water too quickly. It often occurs after a heavy rain following a dry spell.
- Solution: Water consistently and mulch to maintain even soil moisture.
- Yellowing Leaves: Yellowing leaves can be a sign of several issues, including nutrient deficiency, overwatering, or disease.
- Solution: Check if it is due to overwatering. If so, adjust your watering practices. Check for signs of disease. If there is no sign of disease or overwatering, test the soil for nutrient levels and take necessary actions to add nutrients.
- Poor fruit set: Sometimes, tomatoes may flower but fail to set fruit, often due to high temperatures, lack of pollination, or nutrient imbalance.
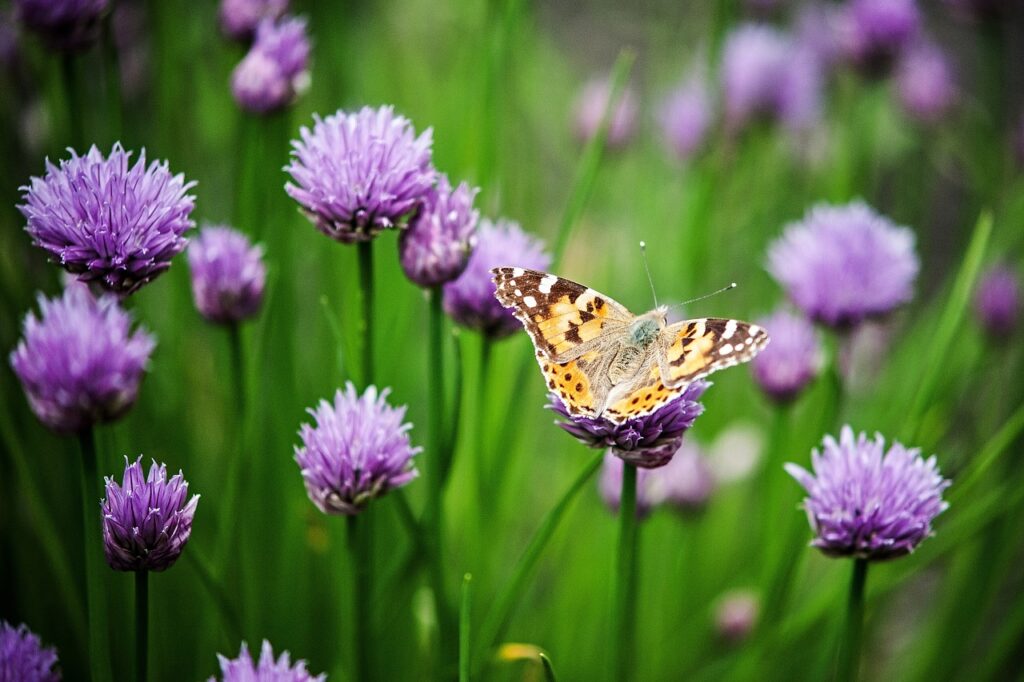
- Solution: Ensure proper pollination by gently shaking the plants. Try to make your garden pollinator-friendly. Provide shade during extreme heat. Adjust fertilization to ensure balanced nutrients.
Growing tomatoes can be a deeply satisfying endeavor, offering not only a bountiful harvest but also the joy of nurturing a plant from seed to fruit. With careful planning, proper care, and a bit of patience, you can enjoy a thriving tomato garden that provides delicious, homegrown tomatoes for months on end. Whether you’re growing a few plants on a balcony or managing a large garden, the tips and techniques I shared in this guide will help you achieve success.

